Monday 29 October 2012

My 1st Customer !


I recently finally got up the guts to try and help someone else out with their little girls birthday party after my sister kindly encouraged me to do so.

The end result turned out great with a few hitches along the way but it was meant to be a learning curve and it was, realising things I should've done different etc and the cost factor also.


The Draft Package


What she received


The end result

Thursday 12 April 2012

Easter Fun!


Well even though Easter is officially over, the chocolates are still flowing....

The Easter Bunny was very kind to me this year leaving my husband and I a jar of goodies each (he he).


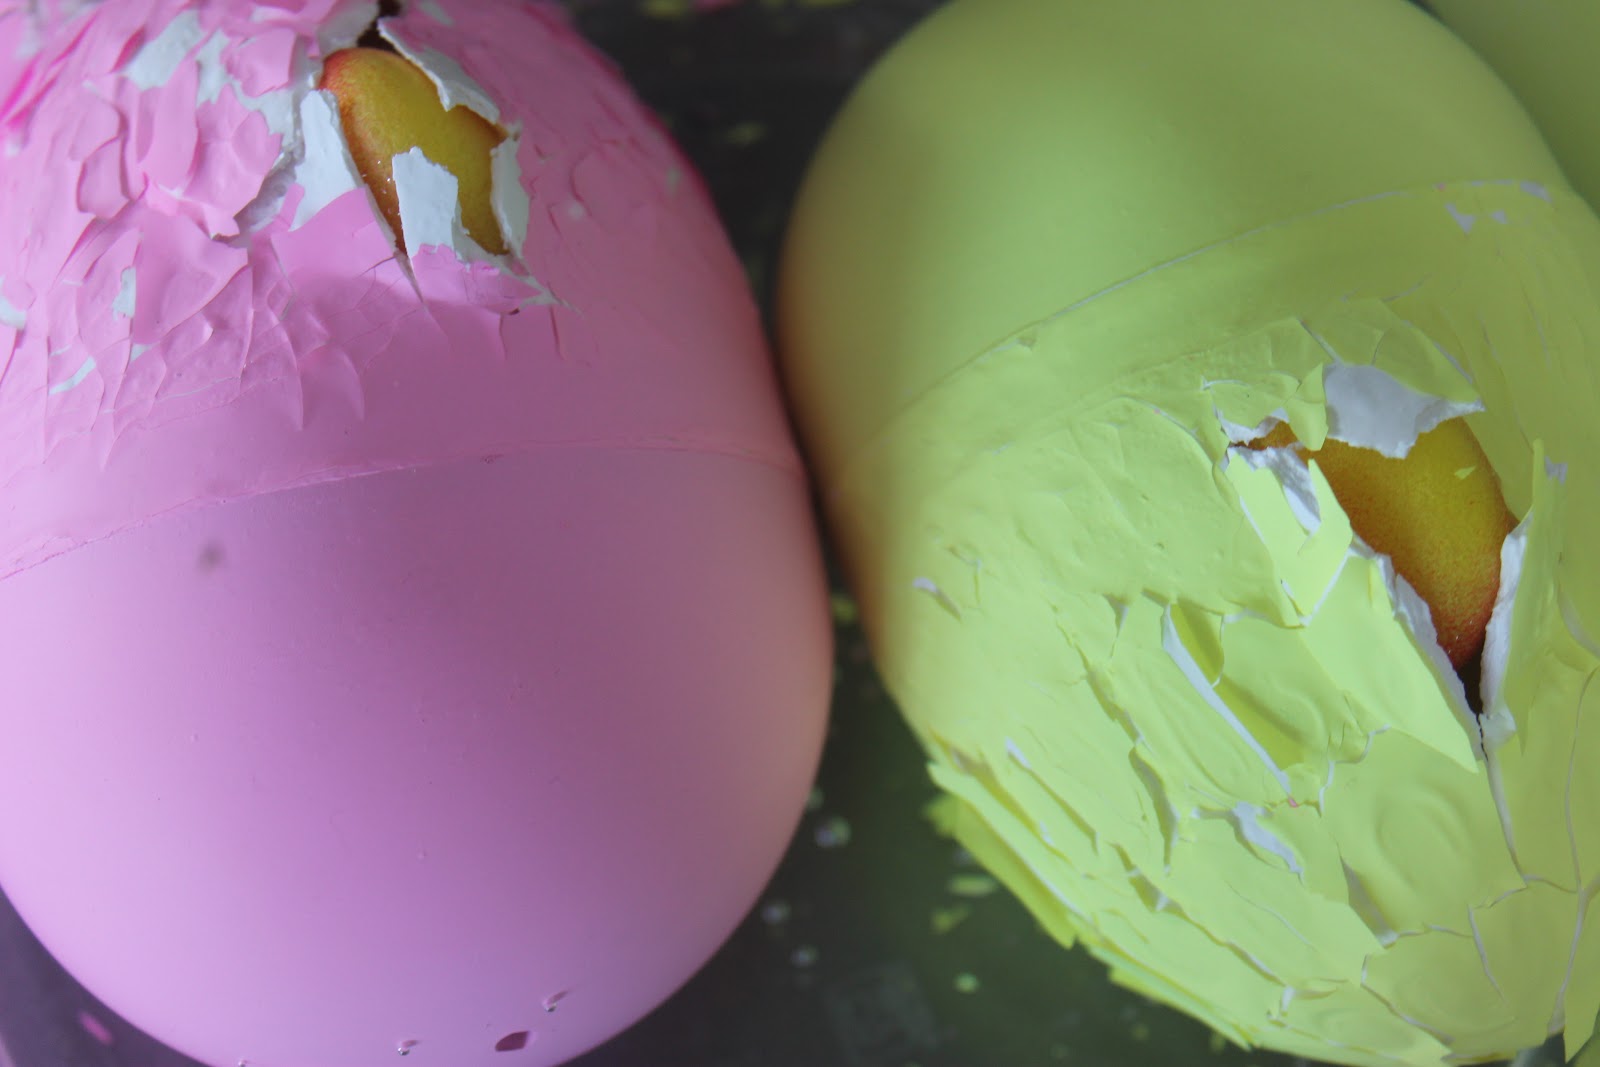
One of the fun things I found for the kids this year was these 'Growing Chicks'.  They are eggs which once placed in water, slowly over about 48 hours, start to break open and a chick will hack out. Then over a further 5 or so days the chick will grow to its full size.

The kids loved waking up each day and checking how much more their eggs had cracked.  I only gave one to my 2 and 6 year olds because I thought my 10 year old boy was too old for it, but I did find him checking on them and getting quite excited and showing the other kids at times.  It just goes to show that we are never too old for a bit of fun!

Day 1

Day 3

Day 5


A very cute solution to having to deal with real eggs and chicks I must say.  This one was a winner for me and the kids!

I've Got It Covered!

My very first project was a Quilt I made with the help of my lovely Mother.  I knew that she wanted one of her daughters to be able to sew so that she had someone to pass her sewing machine down to in her Will (her words not mine).  Anyway, it turned out to be a really fun project to work on together.  She picked material for her Quilt and I picked material for mine and then she showed me how to do it step by step. The end result was a perfect reflection of me and matches beautifully in my loungeroom.  On top of that, it is soooo warm and cosy, I decided to line mine with a chocolate velvity cord which my mother was a bit concerned about at the time, but it turned out PERFECT!

Planning out the pattern I wanted


The end result


Wednesday 11 April 2012

Tuesday 10 April 2012

Mummy Beads

I saw everyone wearing these at a market once and had to buy one for myself.  I later decided that I would attempt to make some for my sister-in-law when she had her baby.  The idea is that as well as looking nice on the mother, they give the baby something to play with while on your lap feeding, instead of pulling at your hair, and teething toddlers something to bite down on while being carried around on your hip, instead of sinking their gums and teeth into you! They are made by sewing a thin strip of material together and filling it with wooden beads and then knotting the material between each bead. Easy!


Sunday 1 April 2012

Thank You Card


Cot Caddy


This Cot Caddy has been great for stashing some books and toys in so that when my daughter wakes in the morning she will simply sit quietly and read a book or play with a dolly so that I can get a little more much needed rest.


Even now that she is a little older and can get out of her bed herself, she still likes to sit and read and play for awhile before hoping out of bed in the mornings.


 To see the tutuorial I used to make this, go to http://www.craftinessisnotoptional.com/2010/01/crib-booktoy-holder-tutorial.html